Jean-Luc Logel discusses a solution that helps glass container manufacturers to eradicate critical wire edge and overpressed defects from their production lines.

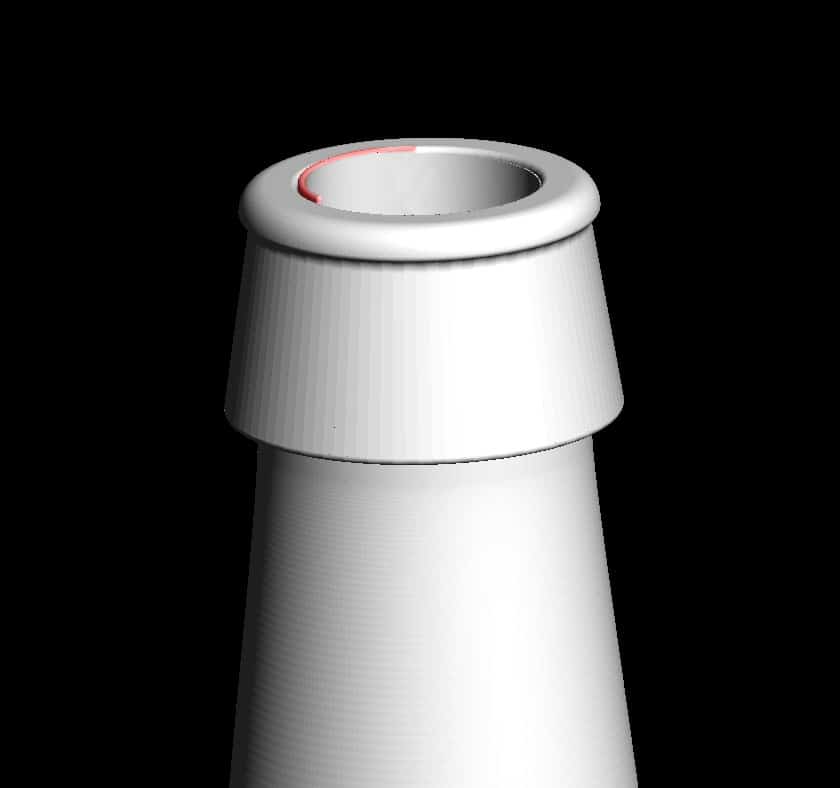
Example of overpressed on the inner rim of the sealing surface

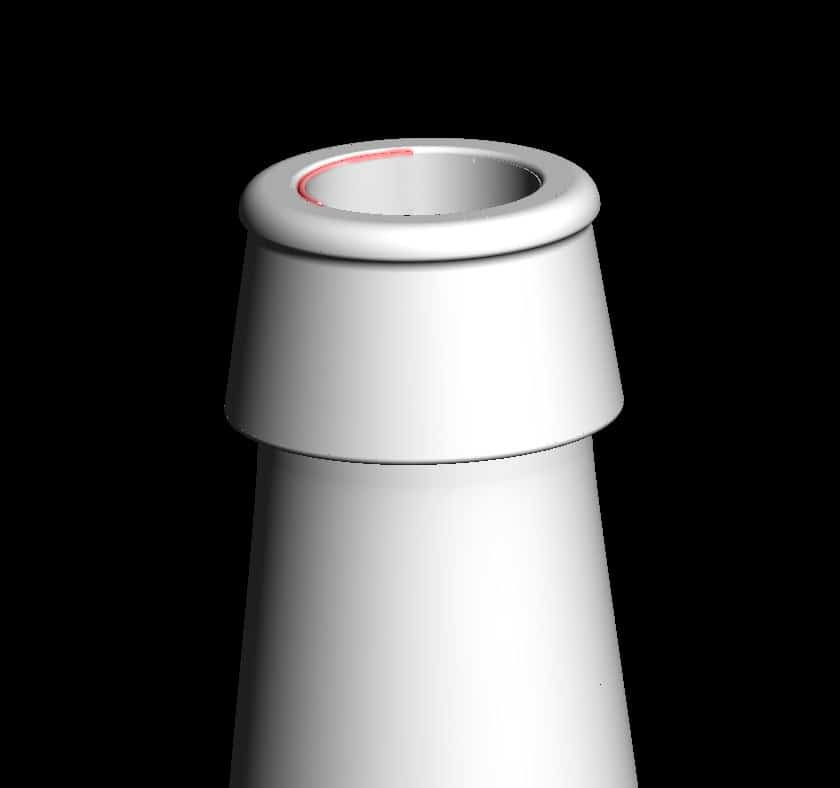
Wire edge is located under the inner ring of the sealing surface (indicated in red)

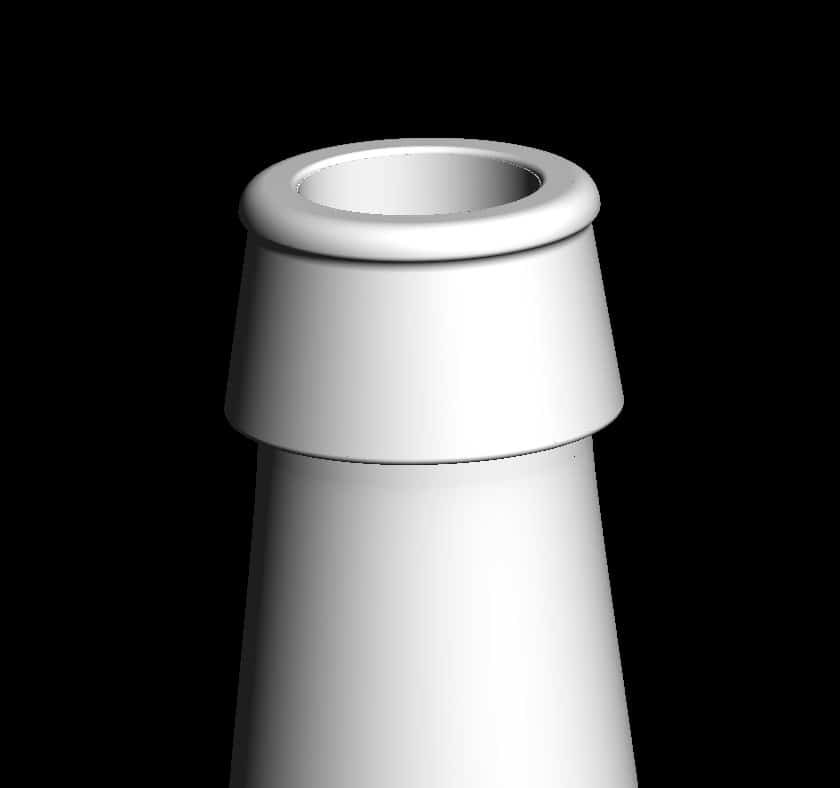
Article without defect
Overpressed and wire edge are widely acknowledged as critical defects in glass container production, each representing major health and safety risks. They are among the bottling industry’s worst nightmares, as well as those of major beer, carbonated beverage and other brands, resulting in potential sealing problems and the possibility of finding glass particles within the packaging.
Overpressed is located on the inner rim of the sealing surface. A fin of glass extending above the sealing surface, it can be continuous and form a perfect ring. Alternatively, it can follow the inner rim of the finish only partially. Overpressed can be perfectly horizontal, parallel to the sealing surface or it can bend on one side.
Like the overpressed, wire edge is also a fin of glass but it is located under the inner ring of the sealing surface. It can also be continuous and form a perfect ring or it follows the inside of the finish only partially. As the wire edge defect does not extend above the finish, it is sometime difficult to differentiate from the normal characteristics of the inner finish with traditional inspection solutions.
Futhermore, the press and blow process, in particular narrow neck press and blow, allows glassmakers to increase productivity by reducing weight, although this trend has pushed companies to secure overpressed and wire edge detection.
Both faults are process-related and their root causes are the same:
- Excessive gob weight.
- Wrong plunger dimensions.
- Wrong plunger mechanical adjustment or synchronisation.
- Dirt or glass particles disturbing the plunger stroke etc.
The solution
IRIS Inspection machines has developed a solution to detect both wire edge and overpress defects. This technology features dedicated optical system and algorithms, together with an innovative software called NEO intelligence.
IRIS makes it possible to differentiate between overpressed/wire edge even on small and saleable ware. In comparison with existing solutions, the recently announced system is easier to set up and goes further. It allows glassmakers to reach an optimal set up with less compromise and in much quicker time. Therefore, the wire edge finish station is less dependent on human intervention. This finish station can be easily integrated within the Evolution 5 NEO machine. It is also available as a standalone Evolution 2 NEO machine.
In association with several glassmaking customers, the patent pending equipment has been fully validated on many products for a variety of global brands, including Heineken, Desperados, Budweiser, Coca-Cola, Fanta, Sprite, Pepsi, Bec’s, Corona and Leffe. Irrespective of glass colour, the wire edge solution delivers the same inspection results on green, amber or challenging flint.
Industry 4.0-compliant innovations
IRIS Inspection machines has developed an innovative approach to defect identification. Earlier technologies relied heavily on the knowledge of operators, who would help machines to identify what is a defect and what is not. Evolution NEO marks a break with other inspection machines. This latest generation technology includes intelligent defect recognition. Thanks to intelligent machine learning, Evolution NEO can recognise a defect, while the operator decides on its size only. The equipment is able to detect, recognise and provide accurate information about the defect itself.
Inspection data created by the Evolution NEO is available not only on the machine itself but remotely for plant managers to monitor performance and initiate changes where necessary. In addition, defect images are available to hot end personnel, with the ability to share critical defect characteristics and defect images in real-time, alerting IS machine operators to instances of critical defect detection.
A series of web-based trend analysis tools can be accessed to provide graphical views of defects in real-time, to assist glassmakers to find the causes of defects, to simplify the adjustment of settings and to reduce false rejection rates.

